Documentation Index
Fetch the complete documentation index at: https://docs.crotus.io/llms.txt
Use this file to discover all available pages before exploring further.
Overview
We provide an automated email system for sending review requests, especially useful for automating review collection.Use cases
These example events are a great time to send a review request:- When a user signs up to your service
- After someone uses your product for a while (i.e. 2 weeks)
- After a customer completes a purchase
- Following a support interaction or service delivery
- After releasing an important update to your product
How it works
Email templates
Automatic emails build on the concept of templates. You can configure one or multiple custom templates in the Crotus dashboard to personalize your review requests.Dynamic content with placeholders
Placeholders allow for personalized emails by inserting dynamic content. Common placeholders include:{{user_name}}: The user’s name{{product_name}}: The name of your product
{{user_name}}. Especially when using the SDK, make sure to only use lowercase letters and underscores so you can provide them as a JavaScript object.
Setting up automatic review emails
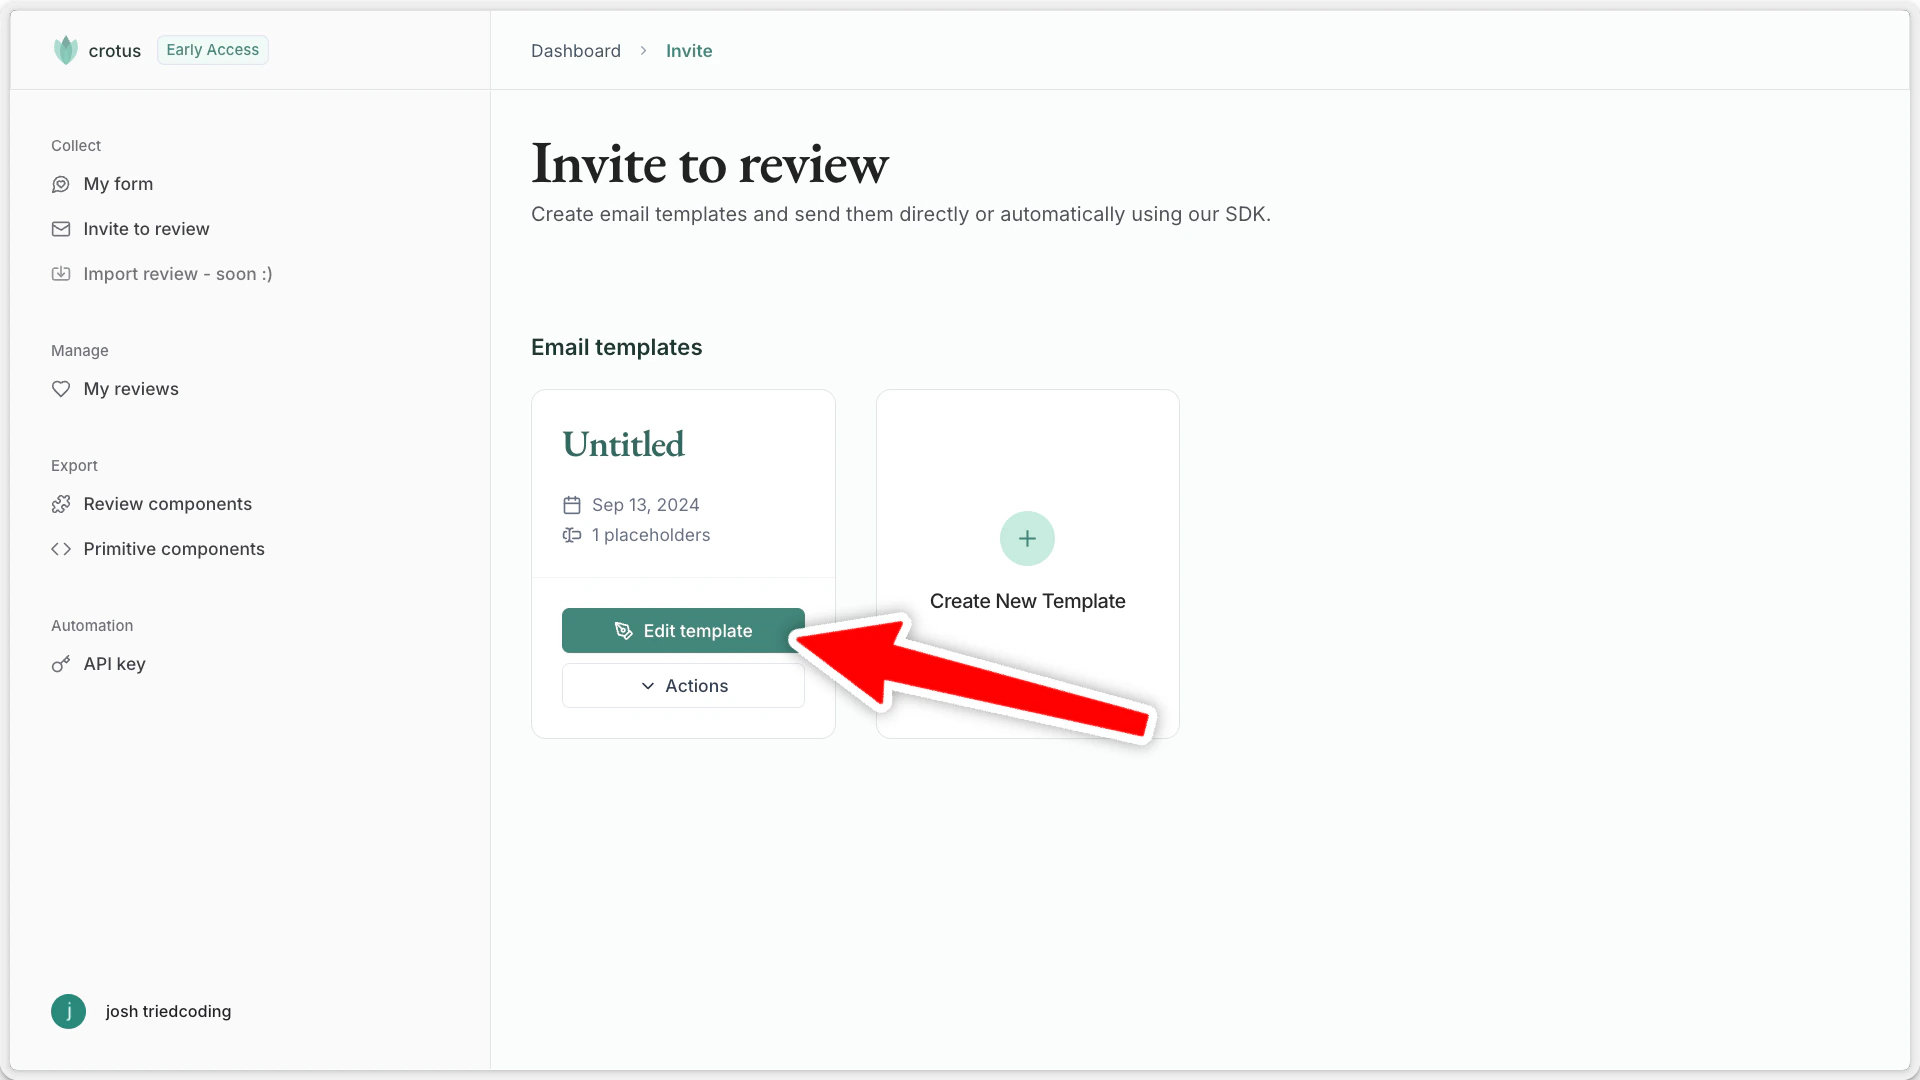
Step 1: Create a template
- Navigate to
Invite to reviewin your crotus dashboard. - Create a new template or modify an existing one.
Step 2: Configure template settings
Define the following:- Template name
- Sender name (as it will appear in recipient’s inbox)
- Reply-to email address
- Email subject and body (using placeholders in the body as needed)
Step 3: Send emails
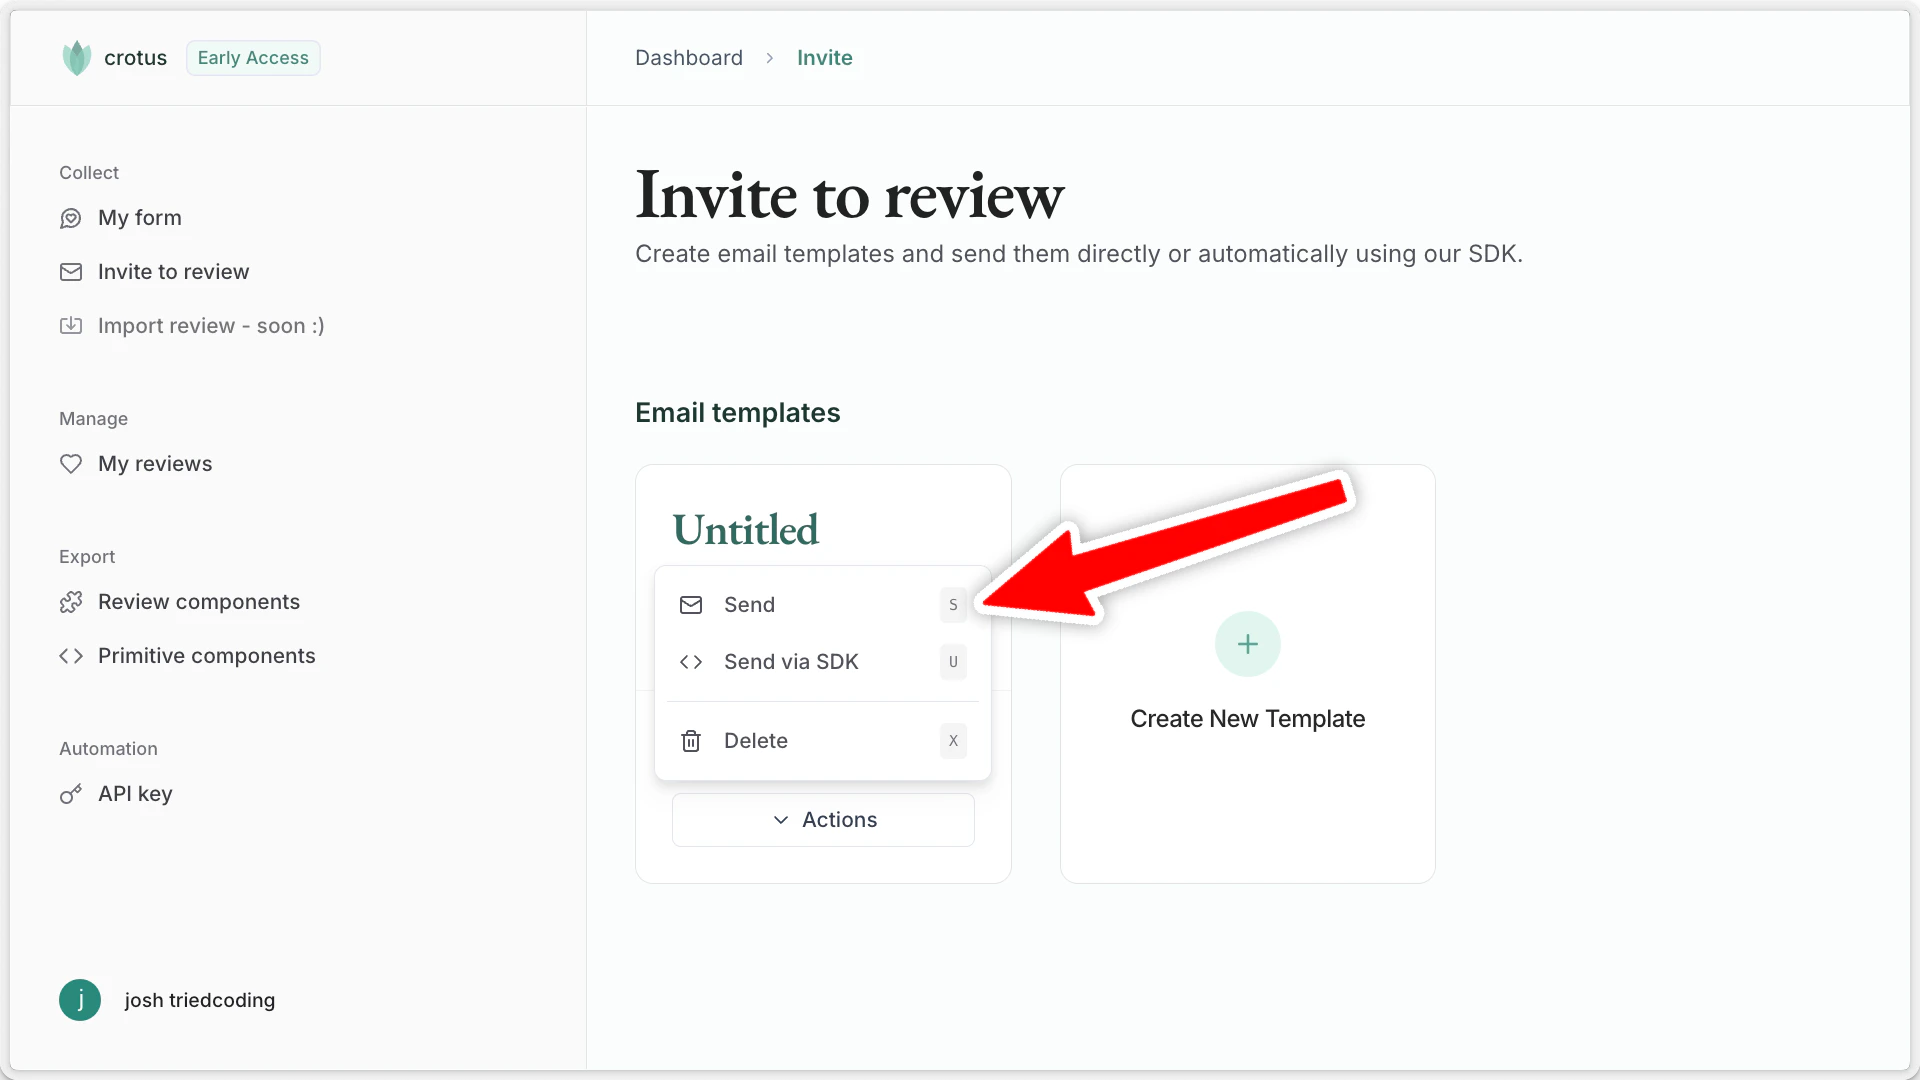
Option A: Directly via email
- Select Actions -> Send on the desired template.
- Enter recipient details and fill out placeholders.
- Send the email.
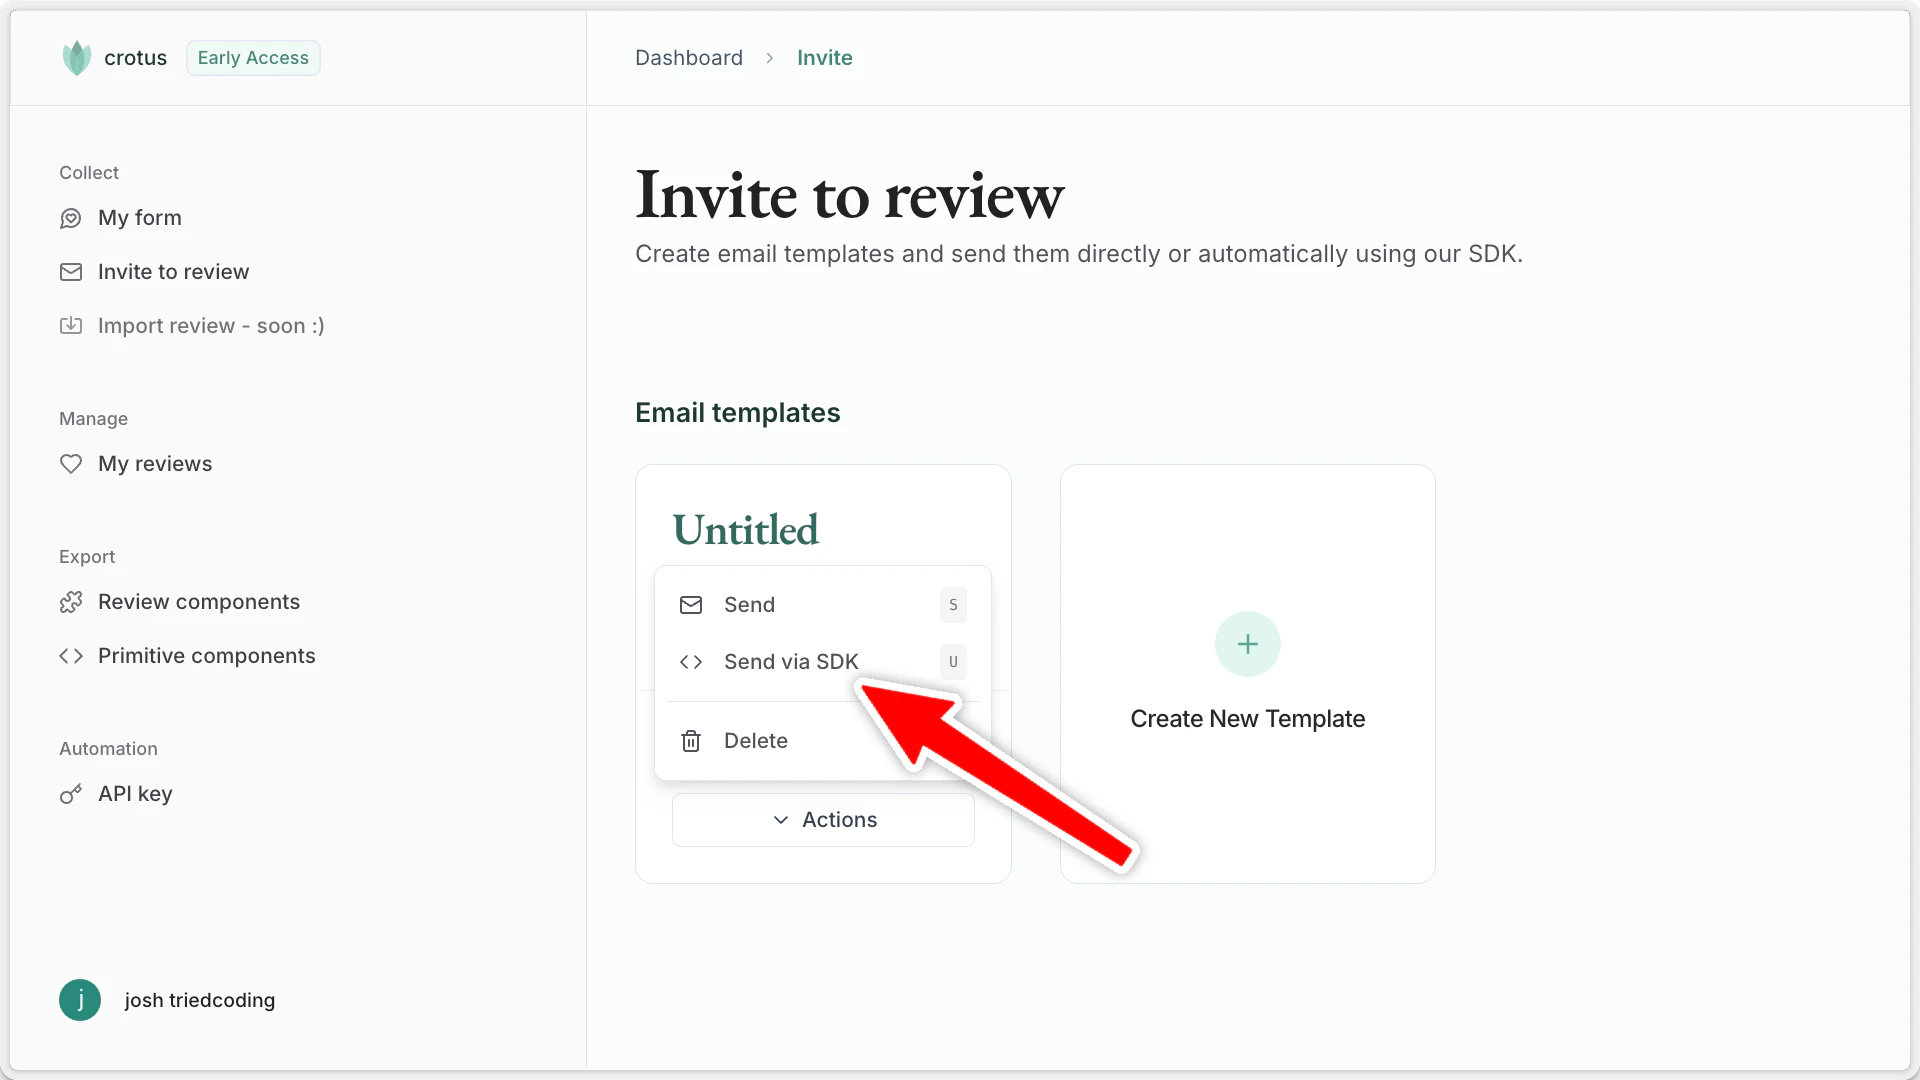
Option B: Using the SDK
- Set up the Crotus SDK (see the quickstart guide).
- Copy the code snippet:
- Click Actions -> Send via SDK on the template.
- Copy the provided code.
- Paste the code to your application, and ensure you populate
toEmailand all placeholder values with the correct values at runtime.